|
It is now past Halloween which, to me, means that it's Christmas time! I know it is early for most people but not for me and this is my blog so I do what I want. And in honor of the Christmas season starting I decided to do a series of Pinsday posts all dedicated to Christmas DIYs and recipes. It's been a while since I've done a Pinsday post so I'm going to have it come back with vengeance.  My favorite part of Christmas time is (after spending time with family of course) decorating. So naturally, my first Christmas themed DIY was a room decoration. The inspiration: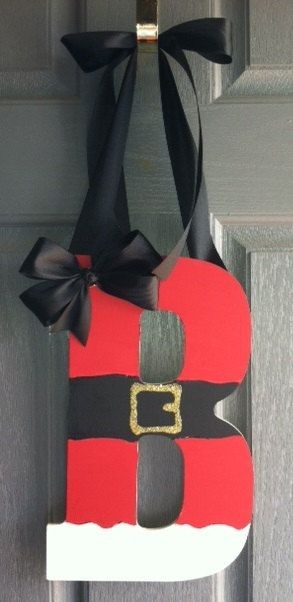 I saw this and thought it was so cute! I'm more of a monogram person than a single letter person though so I took it one step further. Also just for reference, the link to this inspiration is an Etsy listing and not a tutorial but if you aren't very crafty then you can just buy one! My way: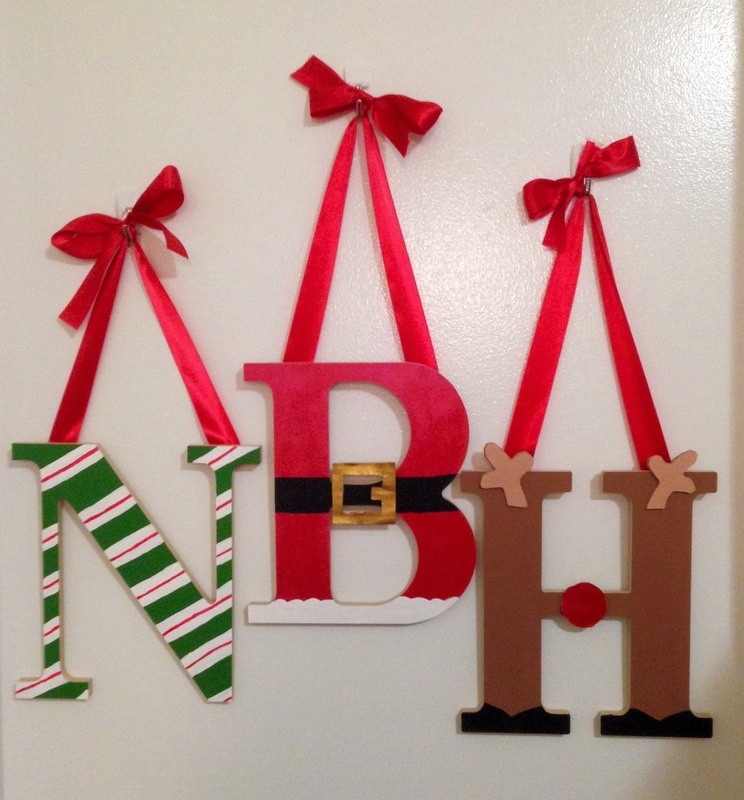 So my "B" was definitely inspired by the above pin but the "N" and "H" I came up with on my own. I'm pretty proud of how they turned out. The "N" is a little hard to tell but it is supposed to be an elf. I think my favorite part is the long ribbons with bows. Normally when I make wall hanging stuff I make the ribbons much shorter and don't add a bow but I think the long ribbon with the bow gives it a more elegant look.  These letters were super easy to make, the hardest part was cutting out the parts I glued on and putting the ribbon on and making sure it was tied at the same height. Easy! And I think they look super pretty on my door! Happy crafting! xoxo Natalie
1 Comment
It's been a while since I've done one of these. With moving and getting settled at school again I've just been too busy to craft or cook anything. Luckily, that has changed and I am back to my normal self and will be crafting and cooking on the regular again. 
So this week's Pinsday post is a home decor craft! When I moved into my new apartment I found an old throw pillow that's cover was old and didn't really match my room so I decided to sew a new one. Here is my Pinspiration! {click picture for link} 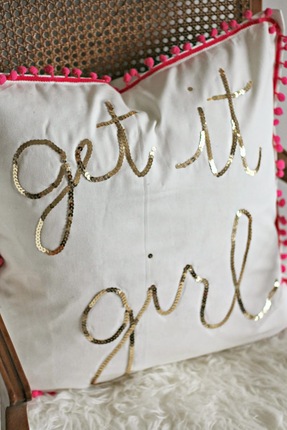
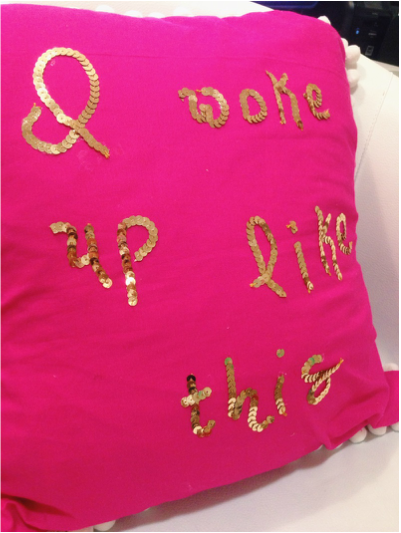
This blogger used a premade pillow case and just glued on the pom poms and the sequins, I decided to be more difficult and sew mine from scratch. I started out by measuring the pillow and cutting two squares about 4 inches wider and taller than my measurements (to give wiggle room and for sewing room). I then cut one of the squares in half and sewed a hem in one side of each square. Then I started sewing in the pom poms, this was the hardest part. I sewed the pillow inside out so I made sure the pom poms were facing in. Another key part of this was pinning everything down so it didn't move while I was sewing. It was easier to sew the pom poms to one side and then to sew the two sides together than it was to just sew all of it in one go. Once I got the whole pillow sewn together I just glued the lettering on with fabric glue. I am really happy with the results! 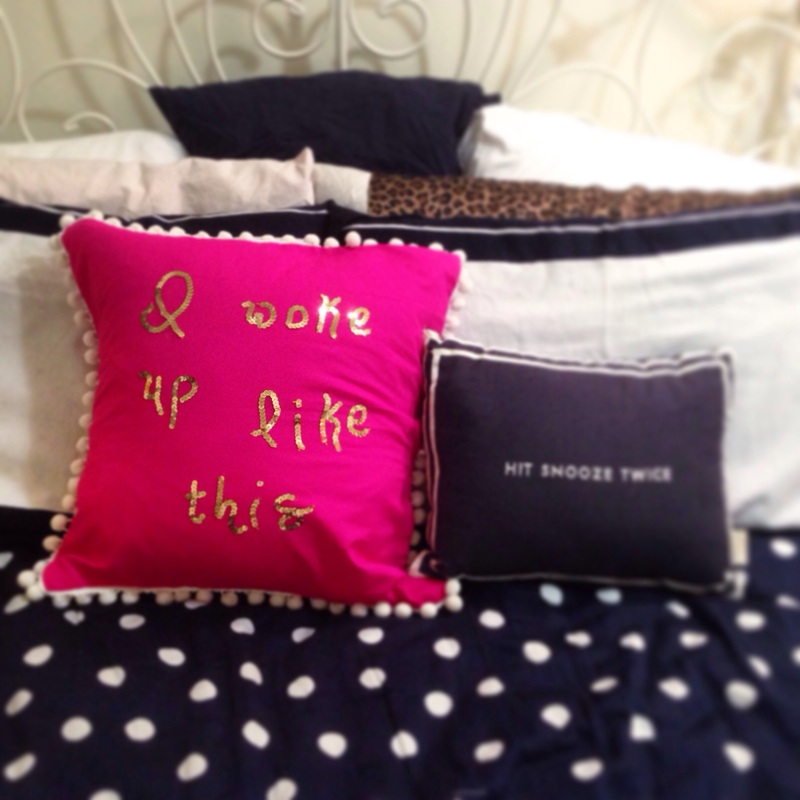
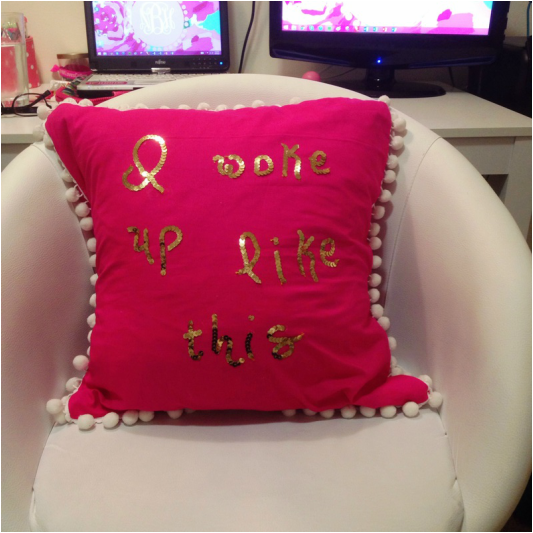
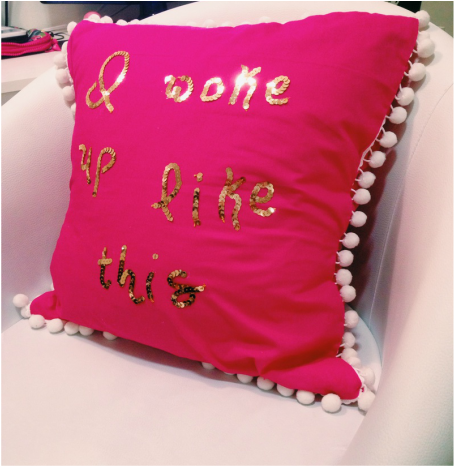
Let me know if you guys want a pattern for sewing together this pillow case and I can make one and put it up. 
What made this difficult was that I didn't have a patter and I am not a very skilled sewer. Once I had a game plan and measurements though it got easier. Also the gluing was a little harder than I expected because my glue was not coming out easily and definitely wasn't coming out in straight lines. Luckily the glue dries very clear so you can't really tell that I had any boo boos when gluing. What was your favorite sewing project?
|

A little about meNatalie. 26. Mechanical engineer. Mining and Minerals Engineering graduate from Virginia Tech. I love pugs, pink, crafting, feminism, makeup, and reading. Archives
November 2018
Categories
All
|
 RSS Feed
